The work flow for receiving purchase orders is as follows:
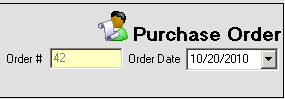
A Purchase Order is created within All Orders as usual.
The Purchase Order is downloaded to the mobile device.
The device is used to receive items for that order.
The user submits the items that were received back to All Orders.
The Receive Items transaction is generated in All Orders against the received Purchase Order.
Step 1 - Log in
Step 2 - Select Your Activity, in this case select Ship Orders.
Step 3 - Purchase Orders Entry Screen
Purchase Order #s entered must exist in All Orders with un-received quantities to be downloaded and received:
Scan or type up to 5 Purchase Order #s. Click GO to download the order and open the Purchase Order List Screen. Click Reset to clear out all of the entered numbers and start over. Click Change Activity to go back to the Select Your Activity screen.
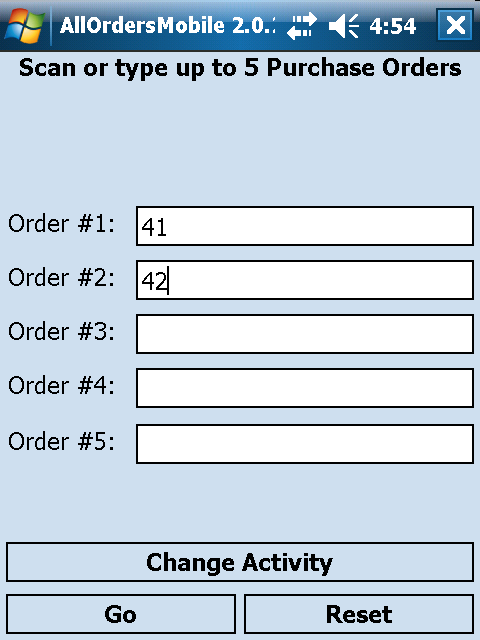
Hint: Design a Purchase Order template with the purchase order # as a bar code.
Step 4 - Purchase Order List Screen
After the Purchase Orders have been downloaded to the device you will see the Purchase Order List.
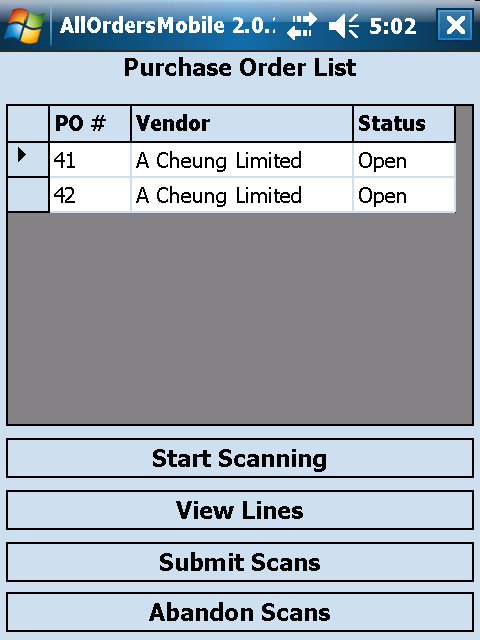
You will see columns for the order #, vendor and status. There are three status as follows:
Open - no items have been received
Partial - some items have been received but not all or not for the entire quantity ordered
Received - All items on the order have been received
Click Start Scanning to go to the Scan Items Screen and begin receiving the orders.
Click Submit Scans after you have finished receiving the order to upload the items that have been received to All Orders and generate Receive Items transactions which reflect what has been received.
Click Abandon Scans to cancel the picks and go back to the Purchase Order Entry Screen.
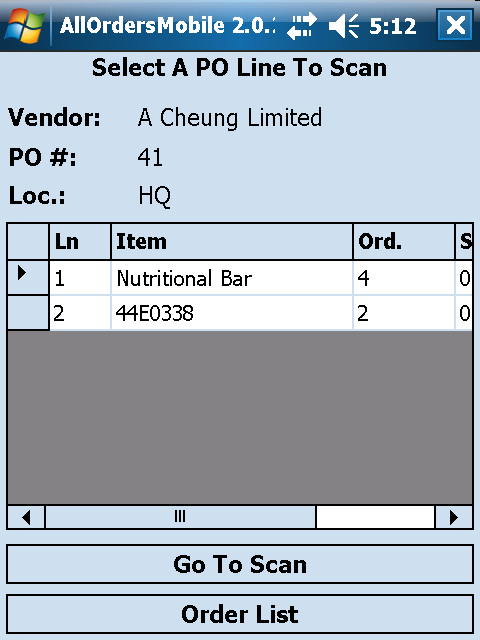
You can highlight one of the rows on the grid (a triangle will show on the left) then click View Lines to view the Purchase Order Line Item List Screen. Using this screen you can view all the line items that need to be received and how many have already been received for the selected Purchase Order. You can also click Go To Scan to open the Scan Items Screen and start picking the order or click Order List to go back to the Purchase Order List Screen.
Step 5 - Scan Items Screen
From the Purchase Order List, click Start Scanning to open the Scan Items Screen.
The top portion of the screen is split up in 2 panels
Item: The Items panel shows the item that is currently selected for receiving and the total quantity ordered and the total quantity that has been received for all purchase orders on the Purchase Order List which have been downloaded for the current picking session. If, for example, you have an item which is on 2 separate Purchase Orders that have been downloaded, one with 1 unit ordered and one with 2 units ordered, the total ordered for the selected item will be 3 units.
Order: The Order panel will show the order # that is currently selected for picking and the quantity ordered and the quantity that has been received for the currently selected item for only the currently selected order.
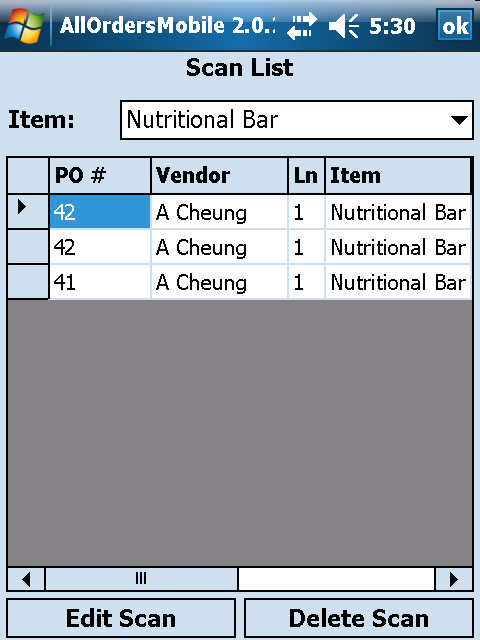
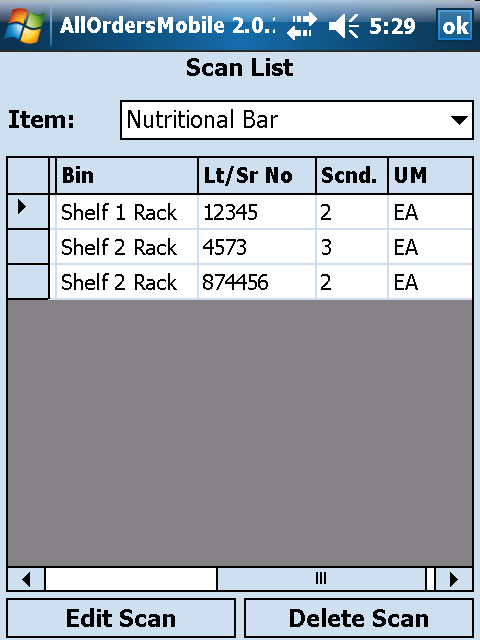
Scrolling through the items will change the item that is currently being received. Click Tot. Ordrd. (Total Ordered) to view all of the line items that need to be received for all purchase orders on the Purchase Order List which have been downloaded for the current receiving session for the currently selected item. Click Tot. Scnd. (Total Scanned) to view the Scan List Screen. This screen will show all of the line items that have already been received for all of the downloaded orders for the currently selected item.
Scrolling through the Order Panel will change the sales order that is currently being received. Ordrd (Ordered) will display how many unit are ordered for the currently selected line item on the currently selected order. Scnd. (Received) will display the current quantity that has been received for the currently selected line item on the currently selected order.
Scrolling through the bins will show where in your warehouse the items are located and available for picking. Use the arrows next to the bins to scroll through them. Scrolling through the bins will also change the Item panel. When you pick an item it will take the inventory from the currently selected bin. Click on the Avail. button to view more details on availability. In addition, if the current item has Lot/Serial #s, clicking the Avail. button will display the Lot/Serial #s that are currently available for picking and allow you to manually pick them.
The bottom portion of the screen is used for scanning and entering item information. Check the AutoScan box if you are going to be scanning with a bar code reader on the device and want to increment the quantity received by 1 each time a scan is performed. Be sure to set your escape character on your scanner to be a Tab to ensure it functions properly. Leave AutoScan unchecked if you would like to enter the item name manually, select non default bins, or need to manually enter quantities. You can still scan the item by placing the cursor in the Scan Item entry field and then scanning the bar code. Once the Scan Item entry field has an item name or bar code entered, a bin has been selected (if the item is not being received into the default bin) and the quantity field has a valid quantity, click the Scan! button to receive the item. This will 'Receive' the specified quantity for the specified line item once the transaction is submitted to All Orders.
If the currently selected item has Lot/Serial #s the bottom portion of the screen will look like this:
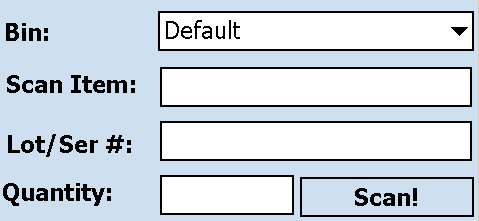
You will be required to either scan or manually enter a Lot/Serial # before a line item that has Lot/Serial #s can be received.
As you are scanning, scroll through the items and then the orders in the top portion of the screen using the appropriate arrows until you are finished receiving all of the line items. Click Order List when you are ready to return to the Purchase Order List Screen to review your picks and then either submit or abandon them.