The Installation of All Order Mobile consists of two separate sets of components: The Server component, and the Mobile Device component. Download the installation packages from Numbercruncher.com and then refer to this guide which will walk you through the installation of both components.
The Server Component should be installed on a shared computer. Please see the Server System Requirements and ensure that the .Net Framework must be installed, IIS must be installed, and if using IIS 6.0 (Windows Server 2003) ASP .Net must be properly registered and enabled.
Log-in to the server with a user having administrative privileges.
After downloading the All Order Mobile server installation file double click it to begin the installation wizard.
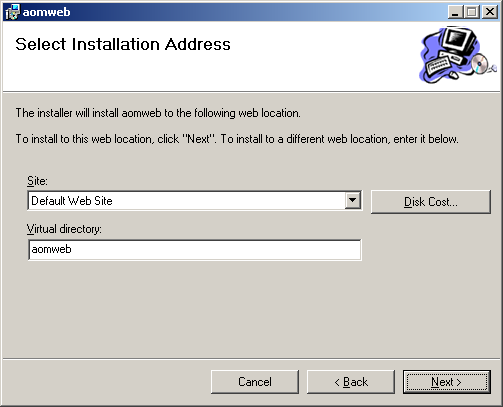
Click Next to continue
Click Next to confirm your selections and begin installing the files.
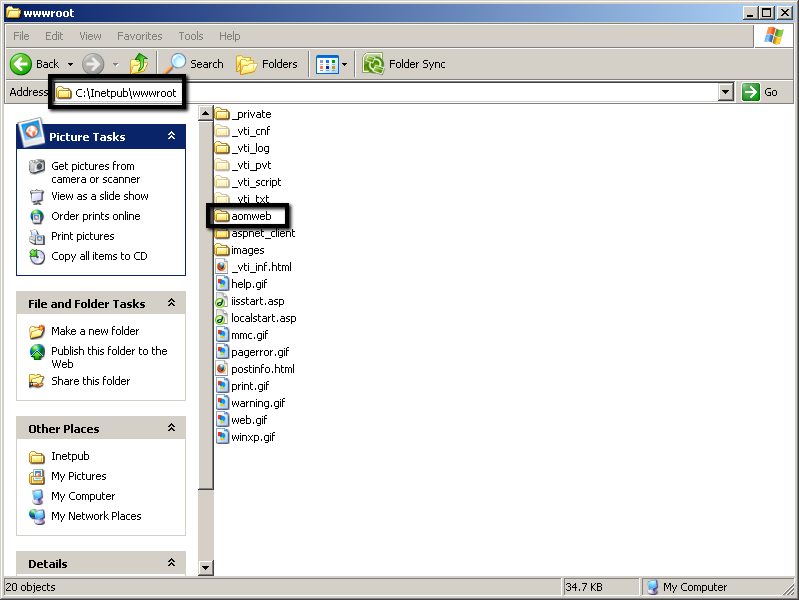
Once the installer is finished click Close to exit. Now navigate to the directory where the files were installed. If you left the default virtual directory name, the folder will be located at C:\Inetpub\wwwroot and be named aomweb.
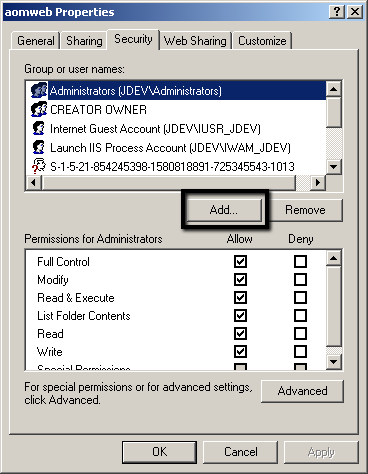
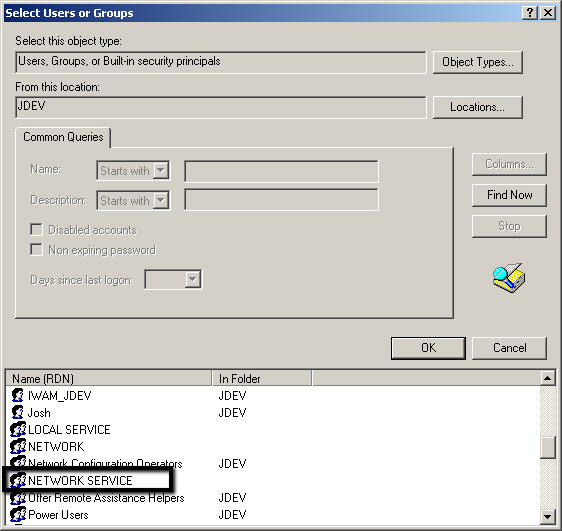
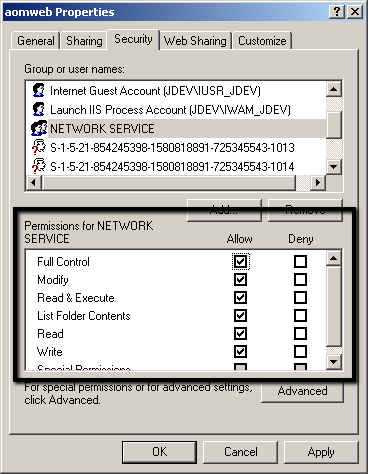
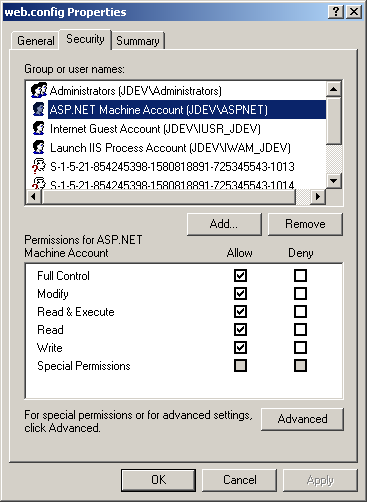
Next browse into the virtual directory folder itself and find a file named web.config. Right click on the file and click properties. Under the security tab do a search for a user in the same way as above and select the ASPNET user. Add the user under the security tab and grant full control.
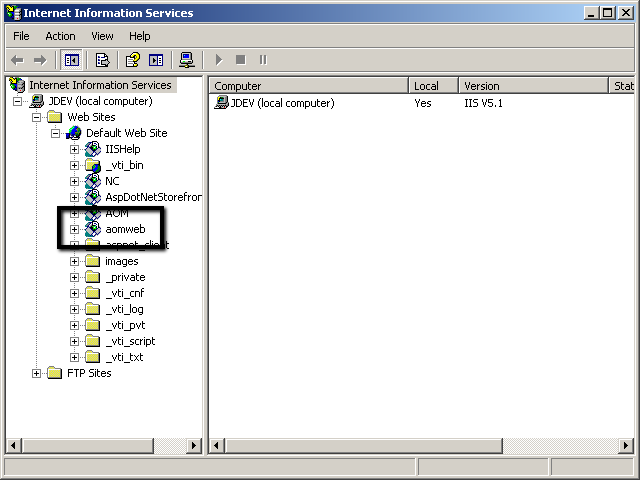
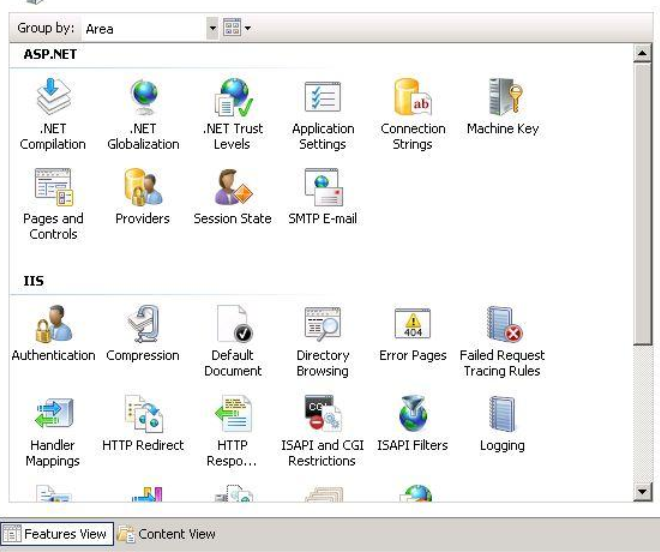
The next step is to configure IIS. To open IIS go to the Start Menu and click Run. If Run is not available press the Windows Logo Key + R to open it. Once open enter inetmgr and click OK. Now that IIS is open navigate the virtual directory that was created during installation. It should have the same name as was specified when installing (aomweb by default) and be under the web site that was specified when installing (usually named Default Web Site).
Follow the next steps to continue configuring your virtual directory in IIS 6.0 (Windows Server 2003). Go to Configuring Your Virtual Directory In IIS 7.X if you are using IIS 7.X (Windows Server 2008 / 7 / Vista)
Configuring Your Virtual Directory In IIS 6.0
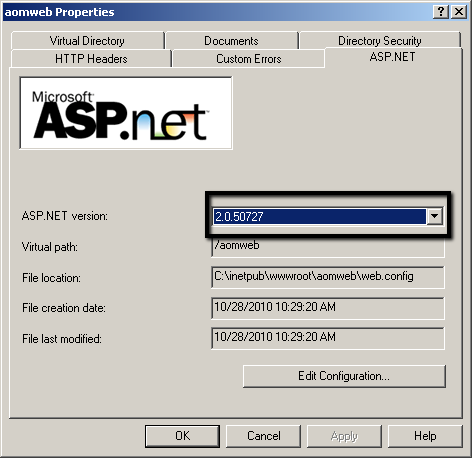
Right click on the virtual directory and click Properties. Click the ASP .NET tab and make sure that the version set is 2.X.XXXXX. If you do not see the tab or the version is not available in the drop down you must Install The .Net Framework 3.5 SP 1 and make sure that ASP .Net is registered and enabled on the server.
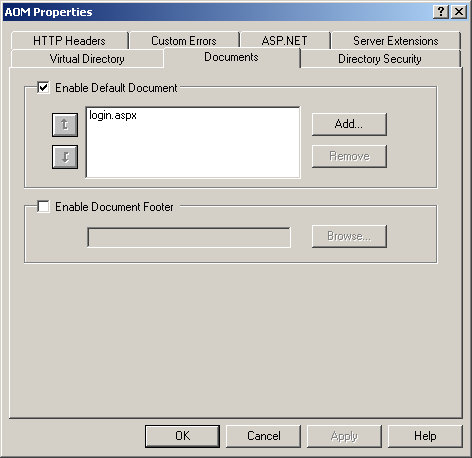
Next click the Documents tab and remove all of the documents listed as possible default documents. Once the list is clear add the document login.aspx.
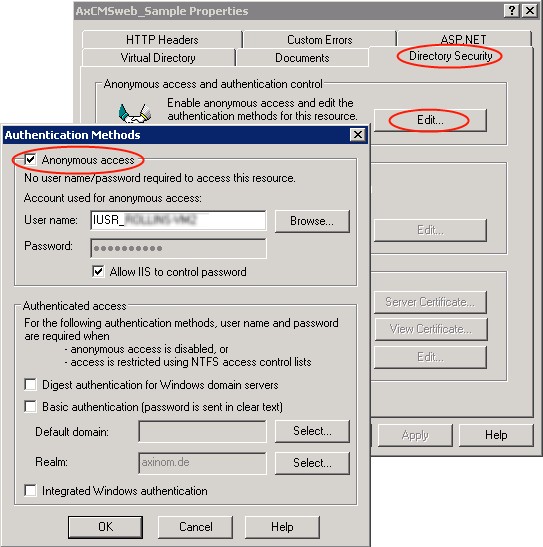
Next click the Directory Security tab and make sure that Anonymous Access is checked.
Click OK to close out and save the virtual directory's properties.
If you are using different .NET Framework Versions in IIS 6, make sure to keep the 1.1 Versions in a different Application Pool as the 2.0 Versions. You may need to consult an I.T. professional if you are not sure if this applies to you.
In your IIS Manager go to the Server > Application Pools. Right click there, select New > Application Pool...
Choose a name, e.g. "Framework_2_0" and select default settings.
In your web site and virtual directory right click and choose Properties. Go to the tab Home Directory. In the Application Pool drop-down select your newly created application pool. Click OK.
You are now ready to Log into the Web Admin Panel for the first time.
Configuring Your Virtual Directory In IIS 7.X
Follow the next steps to continue configuring your virtual directory in IIS 7.X (Windows Server 2008 / 7 / Vista). Go to Configuring Your Virtual Directory In IIS 6.0 if you are using IIS 6.0 (Windows Server 2003).
Once the Virtual Directory is highlighted you will see various options listed on the right hand side under the heading ASP .NET and IIS.
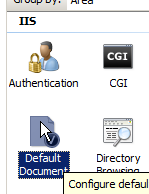
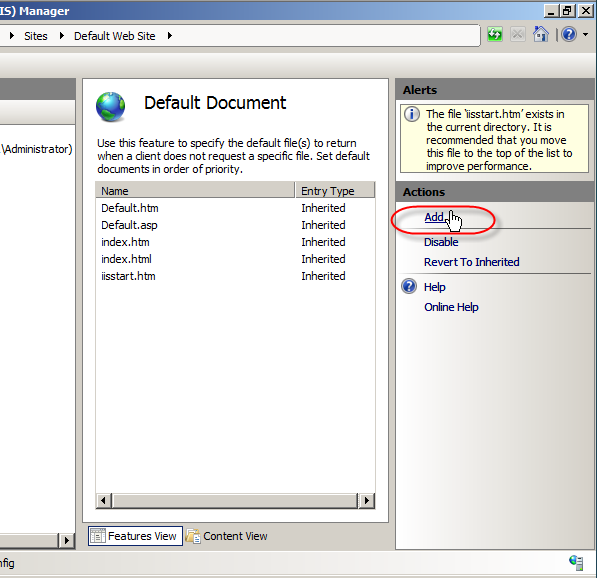
Double click and open the Default Document setting.
On the left hand side click the Add link and add the page name login.aspx. Click back on the Virtual Directory when you are done to bring the list of settings back up.
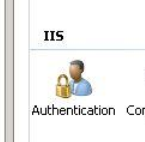
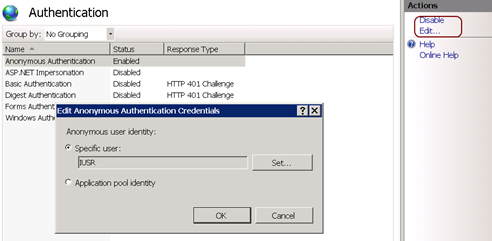
Double click Authentication and then make sure that Anonymous Authentication is Enabled.
Logging Into The Web Admin Panel For The First Time
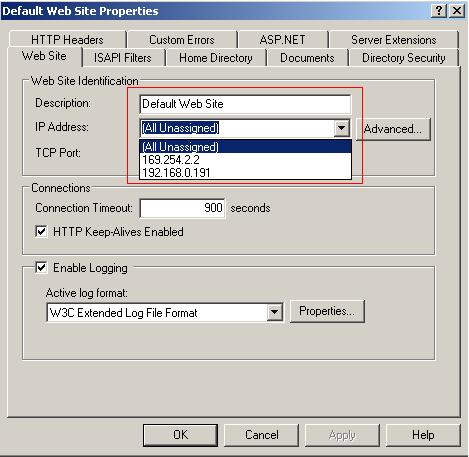
The installation of the All Orders Mobile web component is now complete. To test it out we will first need to find out the IP address being used by the web site that the virtual directory is living under (Generally named Default Web Site). Right click the web site and click Properties. Under the Web Site tab drop down the IP Address to see which IP Addresses have been assigned to the web site. If you see one that looks like 192.168.X.X that is the local IP of the machine. Make a note of it and then click OK to close the properties.
Now that we have our IP address we can try opening up the All Orders Mobile Admin Panel in a browser. Open up any browser (Internet Explorer, Mozilla Firefox, Google Chrome etc...) and enter the following URL:
http://192.168.XXX.XXX/aomweb/
Replace the IP address with the one you made a note of earlier. If you renamed your virtual directory replace aomweb with the new name you assigned. If everything was setup correctly you should see a configuration screen asking for the required information to connect to your All Orders SQL Server database. You can optionally browse for a .NCD file which will contain the needed information. Once this has been entered, click Submit. You should now see a log in screen and are ready to log in and start Managing Your Users & Licenses. Be sure to bookmark this page for easy reference next time you need to log into the web admin panel. This URL should work on any computer within your local network, allowing you to administer All Orders Mobile without having to log onto your server. Also not that your Mobile Device will need this URL to connect to your web server. The URL for the mobile device will look like this:
http://192.168.XXX.XXX/aomweb/ws/aoWebServices.asmx
Make a note of this URL so you will have it ready when you launch All Orders Mobile on your device for the first time.
To install the components needed to run All Order Mobile on the mobile device, first Download the installation package for the Mobile Device to the computer which you will connect the device to for installation. The workstation should be able to connect to the device using ActiveSync (Windows XP) or Windows Mobile Device Center (Windows Vista/7).
Connect the device to the machine and wait for the connection to become active. Once active double click the installation package to begin the installation process.
At the first screen click Next.
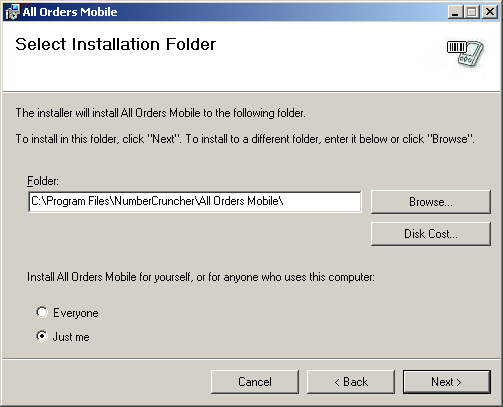
Then select the folder you want to install the program to. Click Next.
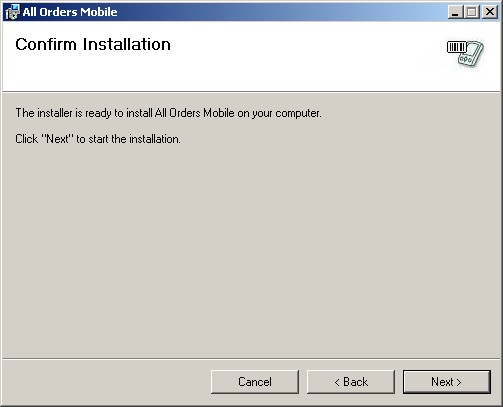
Click Next to begin installing the files.
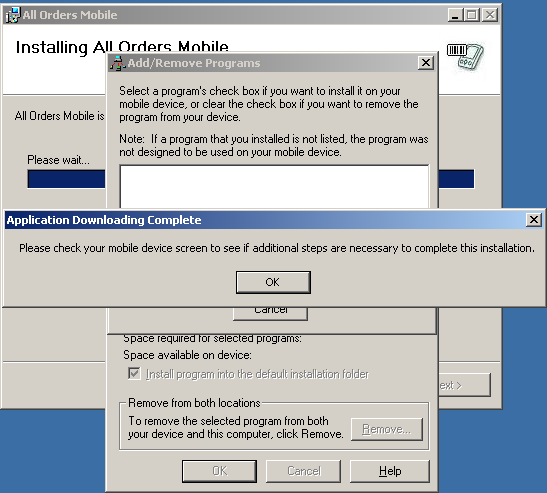
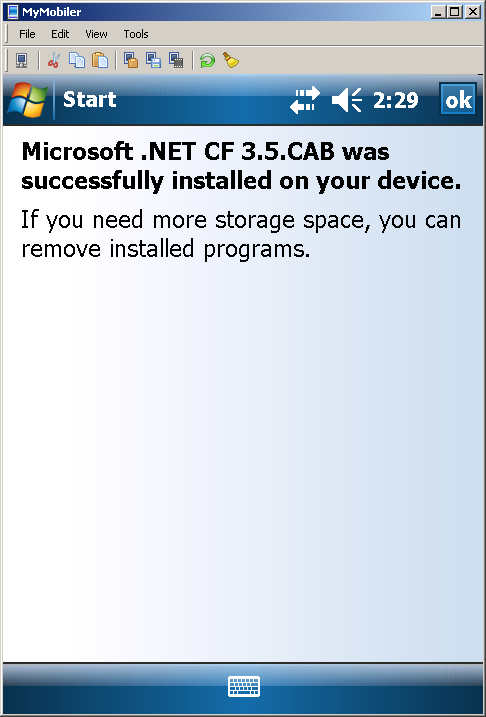
The installer will first place the files for the Mobile Device on the workstation and the install them from the workstation onto the Mobile Device. You will see a screen like this when the files are being sent to the device. There are two installation packages that will be sent to the device. The first is the Microsoft .Net CF (Compact Framework) 3.5. If this is already installed it will ask if you want to update the framework. You can select no and it will skip directly to the All Order Mobile device installation.
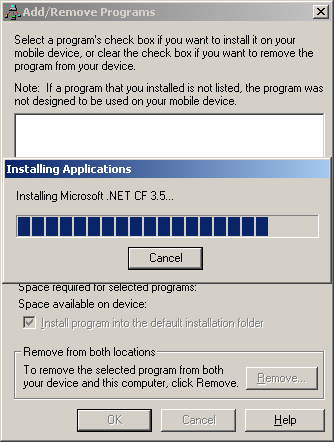
Once the files have been copied onto the device, the workstation will let you know that you need to perform steps on the device to complete the installation.
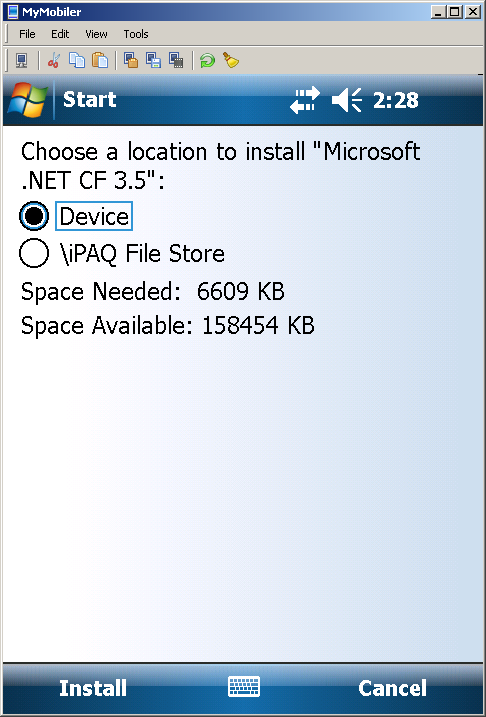
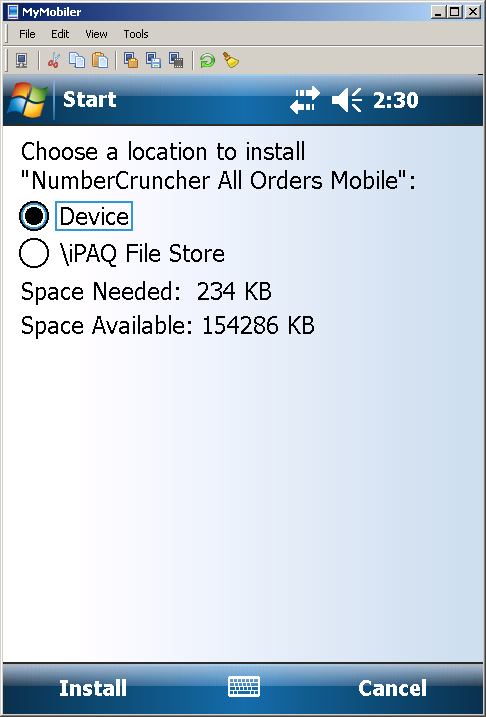
On the device, be sure that the location selected to install the files to is set to "Device" then click Install.
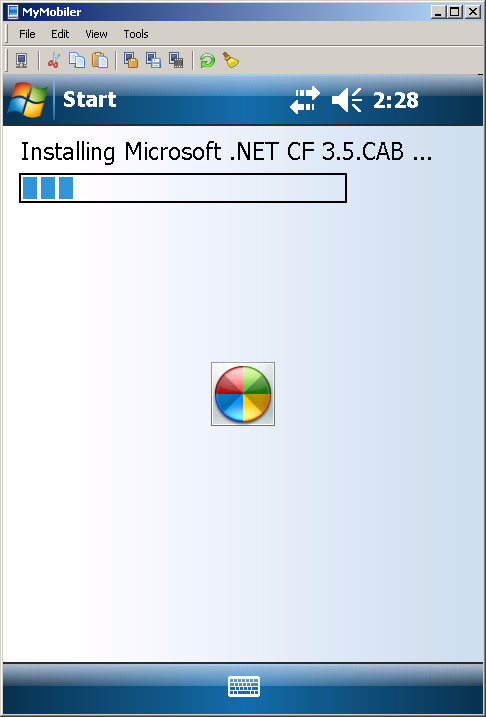
Wait while the framework installs.
If it was able to install successfully you will receive the following message. Click OK to continue.
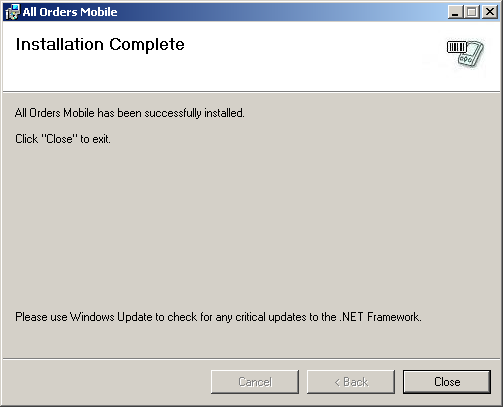
After the framework finishes installing, the All Orders Mobile device installation will start. Follow the same steps as you did with the framework installation.
Once you are finished click Close to exit out of the installer.
Once a workstation has All Orders Mobile device installation installed, any number of devices can be connected to the same workstation for the installation to take place. To install to a new device after doing the initial installation:
Disconnect the device you just installed to
Connect the new device.
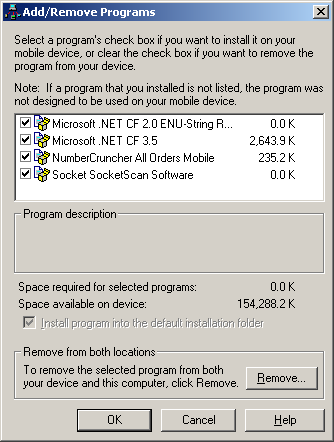
After it is connect to ActiveSync or Windows Mobile Device Center, open up the Add/Remove Programs screen. In ActiveSync you can do this from the tools menu. In Windows Mobile Device center click Programs and Services and then Add/Remove Programs.
You will see that the checkbox by All Orders Mobile (and possibly the Microsoft .Net CF 3.5) program is unchecked. Check the box to install to applications) to the device.
Once a device has All Orders Mobile installed you are ready to begin Using The Device.